
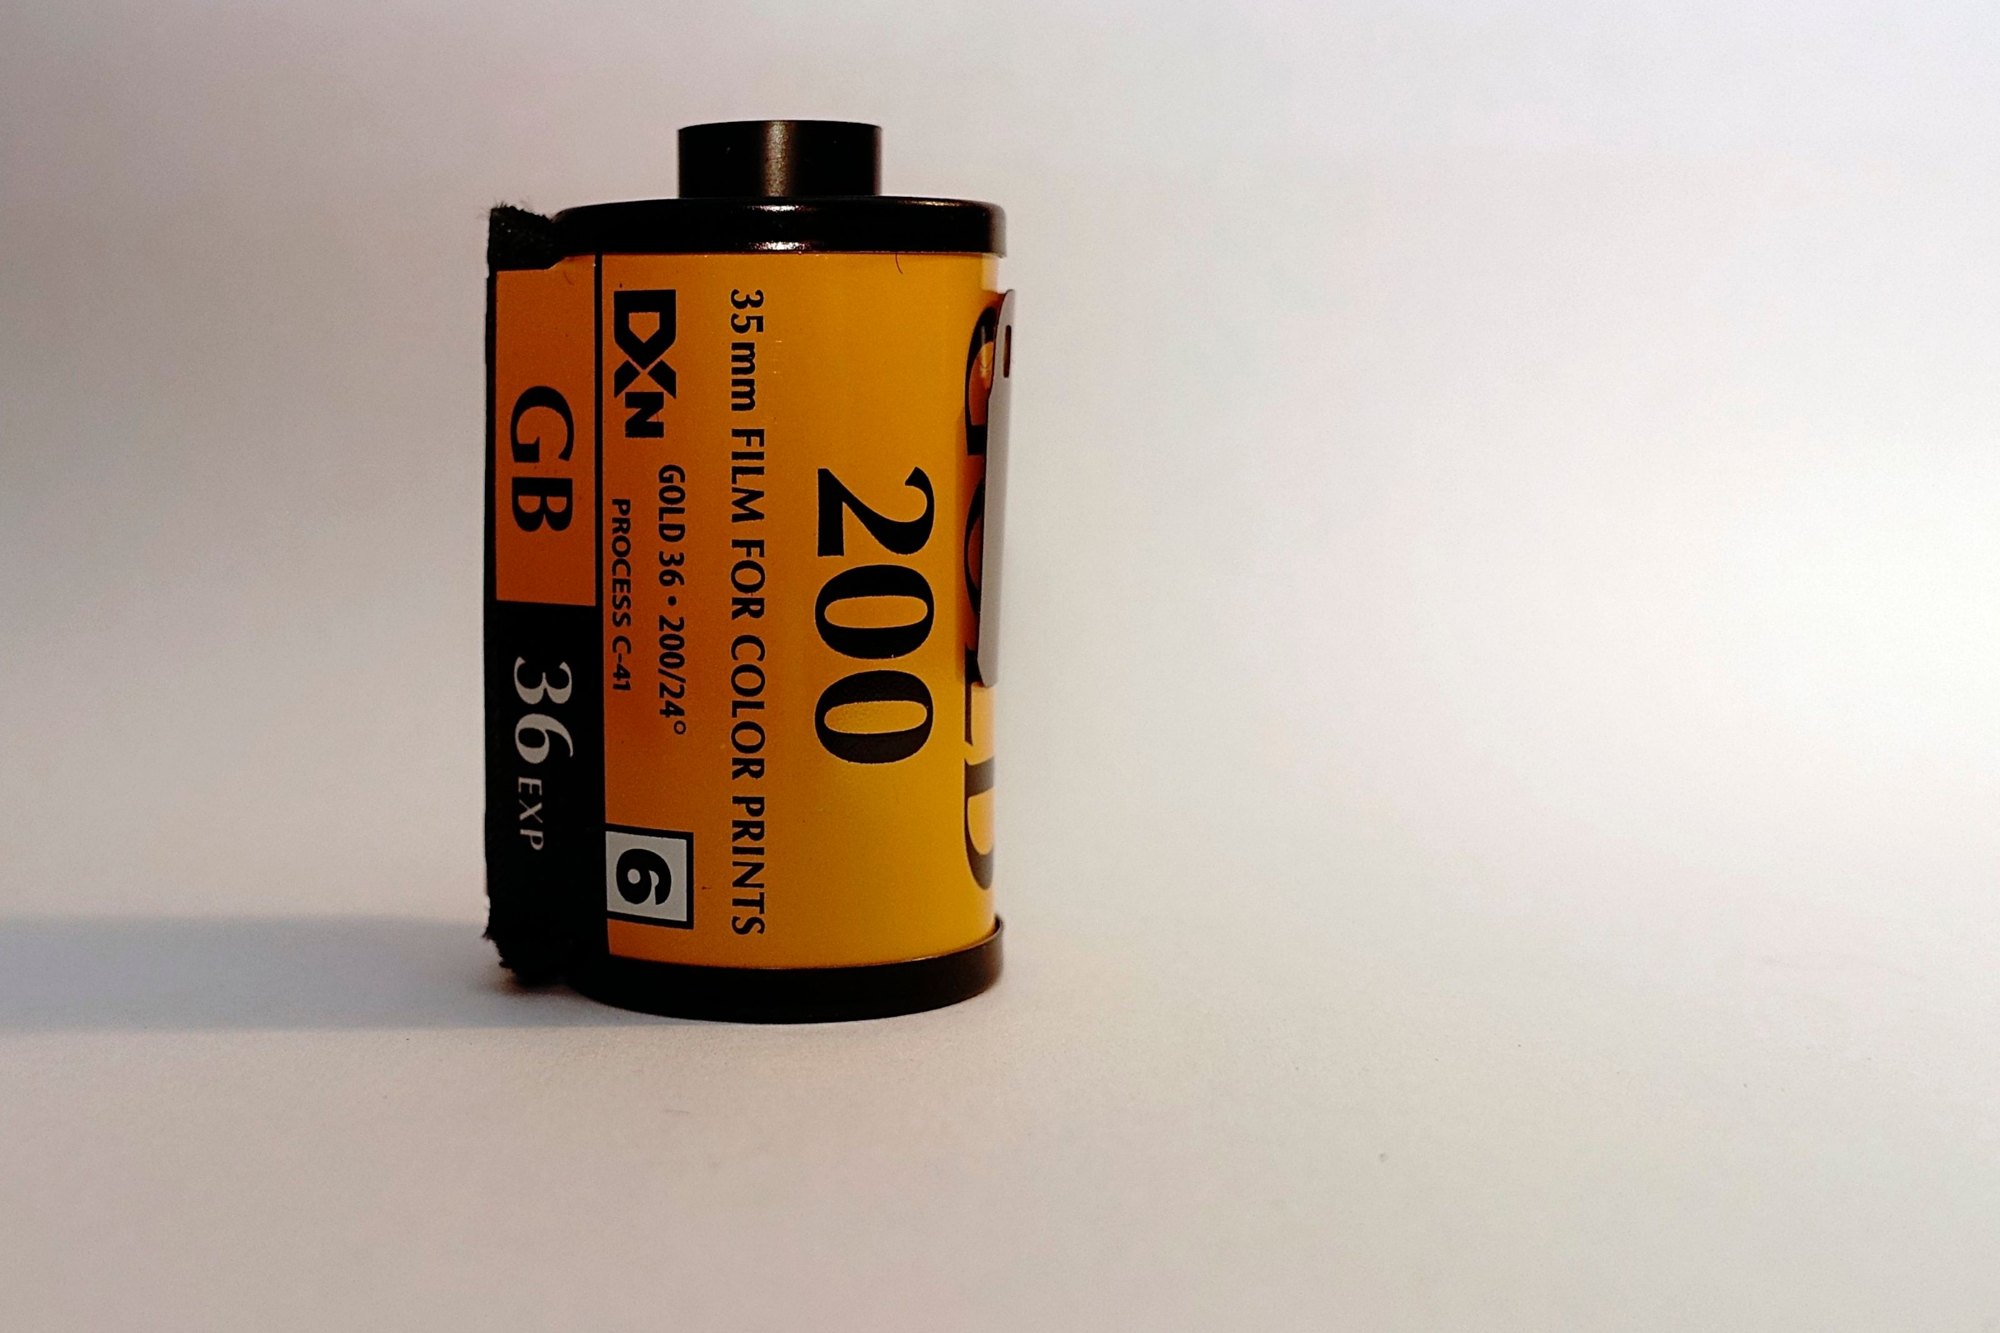
The short answer
ISO measures how sensitive a film or digital sensor is to light. It determines the amplification applied to the image signal to reach a specific lightness. The term speed comes from how sensitive emulsions shortened required exposure times.
How it works
Light sensitivity is quantified through historical and modern sensitometry criteria like threshold, inertia, and gradient methods. Five historical criteria for emulsion speed rating since the late 19th century are threshold from 1880, inertia from 1890, fixed density from 1934, minimum useful gradient from 1939, and fractional gradient from 1939.
Early systems paved the way for modern unified scales. The Warnerke Standard Sensitometer of 1880 used a pigmented screen and a phosphorescent tablet to measure speed in degrees Warnerke. The Hurter and Driffield system from 1890 used speed numbers inversely proportional to required exposure. The Scheinergrade system, devised in 1894 by Julius Scheiner, expressed speed in degrees Scheiner for astronomical photography. The DIN system, published in January 1934 as DIN standard 4512, used base 10 logarithms multiplied by 10 to represent sensitivity. Predecessors to the current standard included ASA in the United States and DIN in Europe, with the current ISO system introduced in 1974.
Modern ISO in digital cameras describes the relationship between exposure and output image lightness. Emulsions needing less light exposure were termed faster because they shortened the time subjects had to hold still. Modern ISO controls camera sensor gain or film chemical reaction rates relative to incoming light.
How to use it
- Bright conditions. Use lower ISO settings in bright conditions to capture maximum image detail and clarity.
- Low-light environments. Increase ISO settings in low-light environments when exposure time must be shortened to prevent motion blur.
- Exposure calculations. Rely on a light meter to calculate the exact exposure time required for a chosen film or sensor sensitivity.
- Preserving detail. Lower sensitivities retain finer grain or less noise, keeping more viable image data and detail.
- Managing quality. Understand that higher sensitivities create coarser film grain or increased digital noise, lowering image quality.
Examples
Shooting a brightly lit landscape at a low ISO to preserve fine details and avoid noise allows you to capture maximum image clarity without introducing unwanted artifacts into your frame.
Raising ISO in indoor or night conditions allows you to use faster handheld shooting speeds, preventing motion blur when ambient light levels are low.
Common mistakes
- Misunderstanding amplification. Assuming higher ISO creates more light rather than simply amplifying existing signal and noise.
- Ignoring trade-offs. Ignoring the trade-off between fast exposure times and degraded image quality.
- Neglecting artifacts. Failing to account for the visibility of digital noise or coarse film grain at extreme settings.
- Overlooking base settings. Keeping ISO elevated in bright scenes where lower values would yield superior detail.
Quick checklist
- Assess available ambient light before setting ISO.
- Select the lowest possible ISO for maximum image quality and detail.
- Raise ISO only when shutter speed or aperture cannot compensate for low light.
- Check final images for unacceptable noise levels or grain.
- Understand your camera sensor limits regarding higher amplifications.